Managing Your Sandbox/Development Course
A "Sandbox" course is just an empty Canvas course shell that you can request from the Instructional Technology and Web services team. Sandbox courses have no beginning or end date, so once created, they are always available for you to use.
Why would you need a Sandbox course?
- You don't have any existing course shells to work with to build out a course
- You need a place to import content from Commons for review and modification
- You want to share course content with other instructors without worrying about FERPA issues
Requesting a Sandbox
To have a development Sandbox course created, fill out the Sandbox Course Request Form. If one has already been allocated to you, our team will let you know how to access it. If not, we will create one for you.
To use our campus resources wisely, it is best practice for each instructor to have only one Sandbox course for their use. The steps below will help you manage your course, so that you can do your work in the Sandbox, save the content as a file, reset the course (delete all content), and then re-import fresh content to start all over again.
Access your Sandbox Course
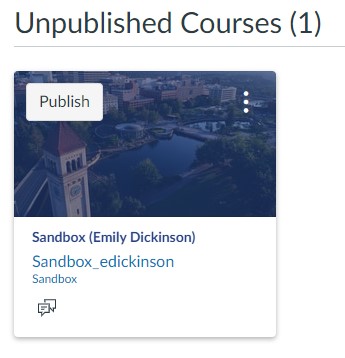
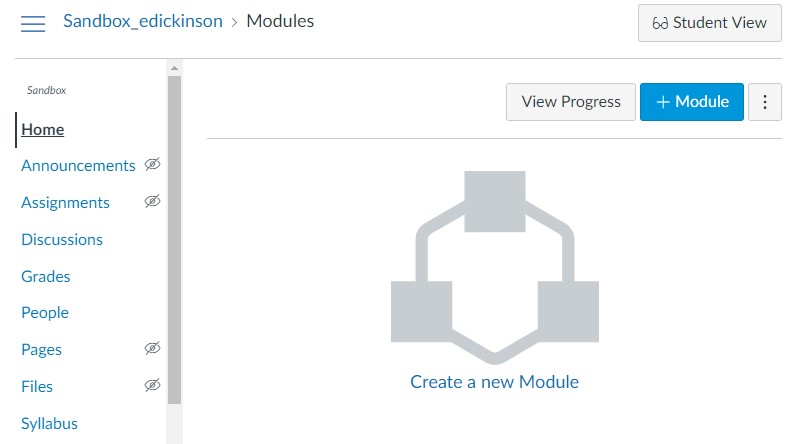
Once your Sandbox course has been created, you can access it from your Canvas Dashboard. It will be in the Unpublished courses area and will be named "Sandbox (First name Last name)". Just click on the course card to access the course. The first time you access your Sandbox, it will be an empty shell with no content, so the Home page will be blank.
Import Content
You can start from scratch and build content manually in your Sandbox course. However, you can also use the Import tools to bring content in from another Canvas course or from the Canvas Commons. Use the guide linked here for assistance with importing content.
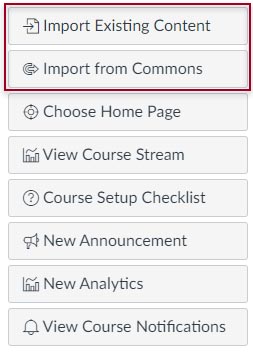
After you are done working with the current content in your Sandbox, you can either: 1) export the course as a Canvas Course Package to be used later for importing or; 2) "Reset Course Content", which deletes everything in the course and leaves you once again with an empty shell.
Export Course Content
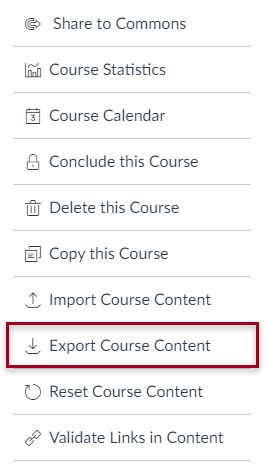
After you are done working with content in your Sandbox, you may wish to save that content as a file, so that it can be used at a later date to import into another course, or possibly share with another instructor. From the Settings tab, choose Export Course Content and proceed with export process. Use the guide linked here for assistance with exporting content. After the export is complete, you will have an "imscc" file that can be saved locally or to a cloud service such as OneDrive or Google Drive. Depending on how much content is in your course, these may result in fairly large files, so you will want to be mindful of storage space when selecting a place to save the file.
Reset Course Content
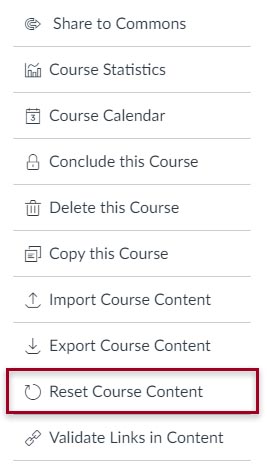
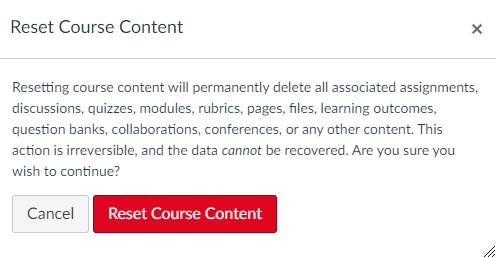
After you have completed a course Export, or if you no longer need the content in your Sandbox, you will need to clean it out so that you can start over again with an empty shell. Rather than deleting items one by one, you can use the Reset Course Content option for this purpose. From the Settings tab, choose Reset Course Content. You will be presented with a warning message that this process cannot be undone. If you are certain this is what you need to do, select the red button to proceed. All content will then be deleted from the course.
